-
Jordan Boyer
- 3 Comments So far
- drywall repair, interior, popcorn ceiling, skim coat, textured ceiling, textured drywall
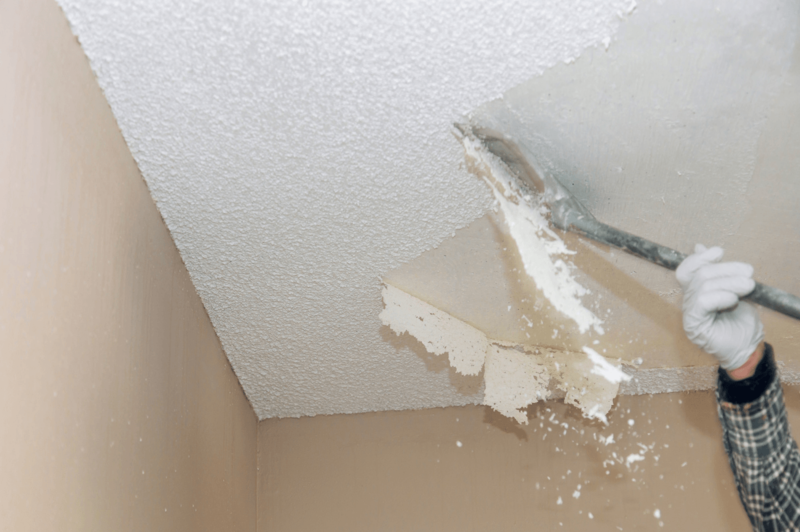
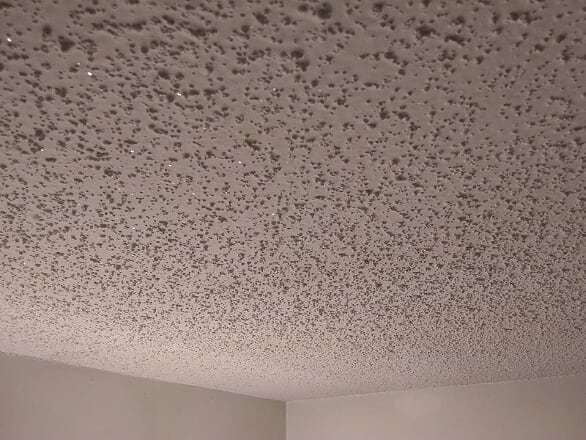
Popcorn ceilings have quickly gone out of style over the years. It was originally used as a way to quickly finish ceilings while hiding imperfections. Textured ceilings, in particular popcorn, is difficult to repair and match to the existing finish as well as attracting dust and cobwebs more than a smooth finish would. Some people like a popcorn finish but it has quickly become unsightly to many people, luckily it isn’t too difficult to remove.
TOOLS FOR REMOVING POPCORN CEILING
BASIC DRYWALL TOOLS:
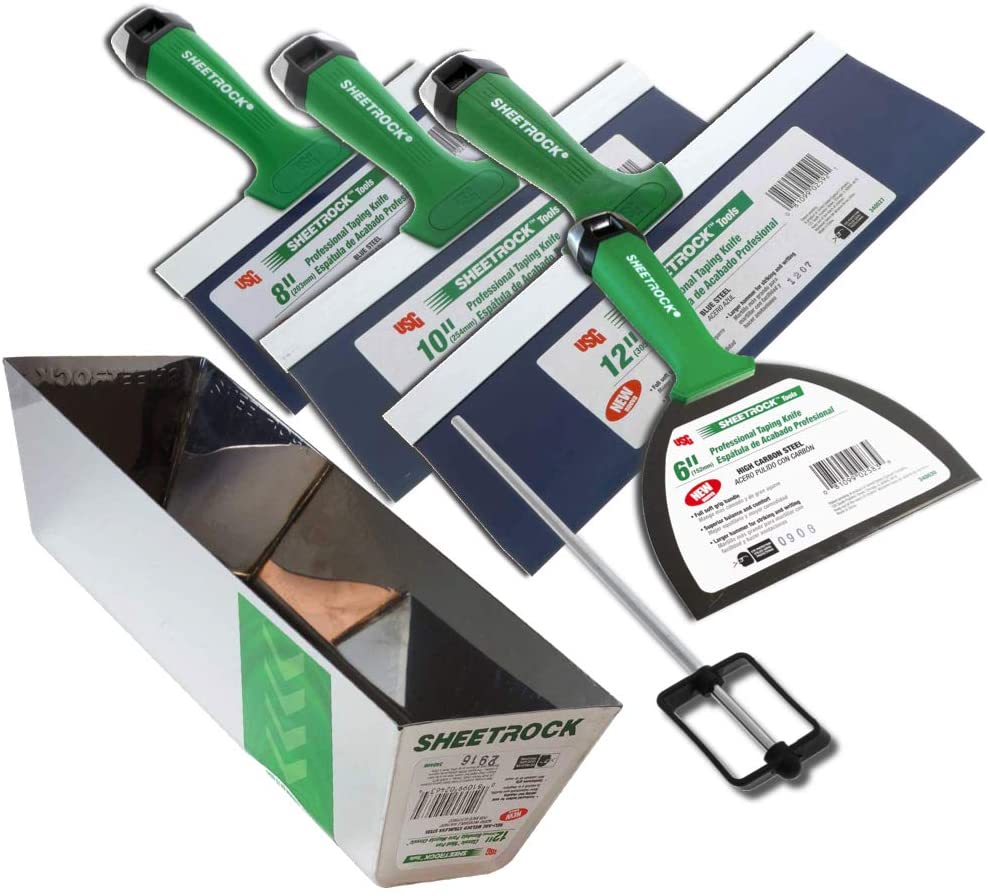
- Putty Knife (6″-12″ will do)
- Mud Pan
- (Alternative) Hawk and Trowel – This will likely be more difficult and messier, but it is usually quicker if you are good at it.
- Pump Garden Sprayer – for wetting the popcorn texture (If you have a lot to spray you can use an airless paint sprayer with water running through it if you have access to one.
- Some sort of drop cloths and plastic sheeting for the walls
TOOLS FOR SKIM COATING:
- 10″ or 12″ Taping Knife
- Skimming Blade (I prefer a 32″ skimming blade) – I personally like this one.
- Drywall Mud
- Drill Mixing paddle
- Drill
- Sandpaper (220-320 grit)
PREPERATION BEFORE REMOVAL
STEP 1: TEST FOR ASBESTOS
Asbestos was commonly used in homes and popcorn texture up until the late 1980s when it was phased out. The issues with asbestos were known for many years before this and it became less popular over time, but it was still able to be used.
To test for asbestos you can buy a test kit like this one on amazon. With the kit you take a little sample and send it to the company and they test in their lab. Alternatively you can hire an abatement professional who can test for asbestos and remove it properly if found.
STEP 2: CHECK IF THE CEILING HAS BEEN PAINTED
If the popcorn texture has never been painted over then it is generally simpler to remove. The water you will spray on can be absorbed very well and soften the texture allowing it to be scraped off in sheets.
If the popcorn ceiling has been painted however the water has a much harder time penetrating in to the texture. Most of the time if it is painted you will not be able to get it wet and scrape it, but it is still worth a shot, it may work.
To test this you can spray a small area and wait 15 minutes or so and try to scrape it off. If it is still really hard it is likely painted, you can try to apply more water but don’t go overboard. If the water will not do the trick you will have to sand the texture down and skim coat over that or knock off the painted texture first and then spray with water. Sanding is generally faster in this situation.
STEP 3: COVER WALLS, FLOORS AND FURNITURE
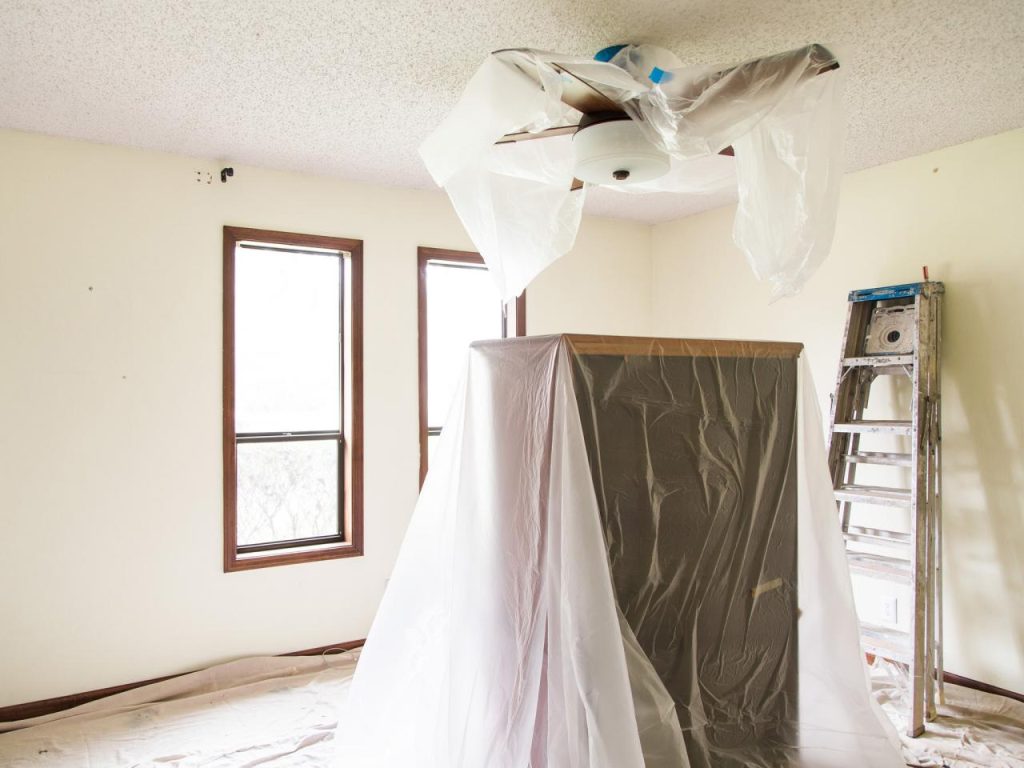
Removing popcorn ceilings is messy no matter whether you are scraping it or sanding it. You will want to cover the floor with plastic and any furniture that can’t be moved out. The walls should be covered with plastic as well to keep texture from sticking during the removal process.
Keep a fan going and windows open if possible to allow dust to escape. Also cover air vents to keep dust from accumulating in them, maybe even just turn the heat or air off during this process.
REMOVING POPCORN CEILINGS
STEP 1: SPRAY THE CEILING WITH WATER
Using your pump sprayer, or whatever else you came up with, begin misting the ceiling, starting in the spot you want to remove first. You should be able to see a darkening of the area after spraying, if the water is beading and dripping it is too wet. After spraying let the water soak in for 15 minutes, you may have to repeat this if the texture has not been completely softened.
STEP 2: SCRAPE THE TEXTURE OFF
Using a joint/putty knife or texture scraper start scraping and if it is softened enough it should come off easily. I recommend you get a scraper that can be put on an extension pole, otherwise you have to get up real close to the ceiling. If areas aren’t soft enough, respray and let soak for 5-10 minutes.
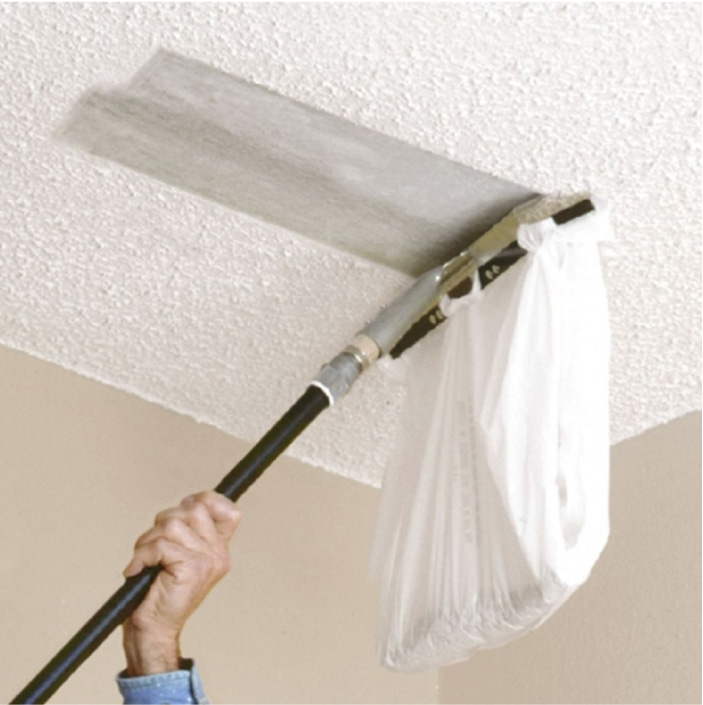
WHAT TO DO IF YOUR CEILING WAS PAINTED?
If your ceiling is painted, the best way to get around this is to go in with a sander. An alternative method would be to dry scrape first to knock off the texture with paint and then repeat the process as provided for non-painted drywall in steps 1 and 2. I would recommend using a power sander for this if possible.
FINISHING THE POPCORN REMOVAL PROCESS
After all the popcorn texture has been removed you will want to patch any imperfections in the ceiling. Generally when a heavy popcorn texture was going to be applied the ceilings weren’t finished as well as the otherwise would have been. This means that you will likely have spots that need repaired and a skim coat will likely be required for a smooth finish.
WHICH DRYWALL MUD TO USE?
- All-purpose mud will be used the most, generally for fixing small holes and cracks in the ceiling. All purpose mud can also be used for the skim coat but should be thinned down first.
- Lightweight joint compound, such as USG Plus 3. This is lighter and easier to sand than all purpose joint compound and should be used for the skim coat if possible.
- Quick setting joint compound, USG Easy Sand for example. This is used to fill large voids or damaged areas or when you need a very fast setting mud. Contrary to the name however this is not very easy to sand and should only be used for large repairs if possible. If you need to do a repair with mesh tape use a quick setting compound.
STEP 1: REPAIR IMPERFECTIONS
First thing’s first – you’re going to want to start with mixing up your all-purpose mud. Then, go through and fix up any major imperfections that you see. This could be anything from water damage, big holes, or popped screws. This is also a good time to smooth and float out any lifted corners you may find as well.
The main goal of this step is to ensure everything is looking all smooth and tidy before going in for the final skim. This is important because any of these imperfections are going to show through on your final skim coat if you don’t fix them now!
STEP 2: APPLY SKIM COAT TO CEILING
After the joint compound from the first step is dry, use a putty knife to knock down any major ridges left from the repairs. Now you can mix up whatever joint compound you decided to use for the skim coat, USG Plus 3 is what I recommend for this. Using a taping knife or for large areas a paint roller, apply the drywall mud to the ceiling working in sections.
Once the area is covered float out the mud in the area. The best tool for this is a skimming blade but a large taping knife will also do the job.
STEP 3: SAND
There shouldn’t be too much to sand at this point if you applied the skim coat well, but you will inevitably have some lap marks that need to be sanded. Using 220 or 320 grit sandpaper and a pole sander to lightly sand the ceiling should be all you need.
If you find imperfections while sanding you can apply more joint compound and float out the area, and sand again after it dries.
DO I EVEN NEED TO SCRAPE THE TEXTURE OR CAN I JUST SKIM COAT?
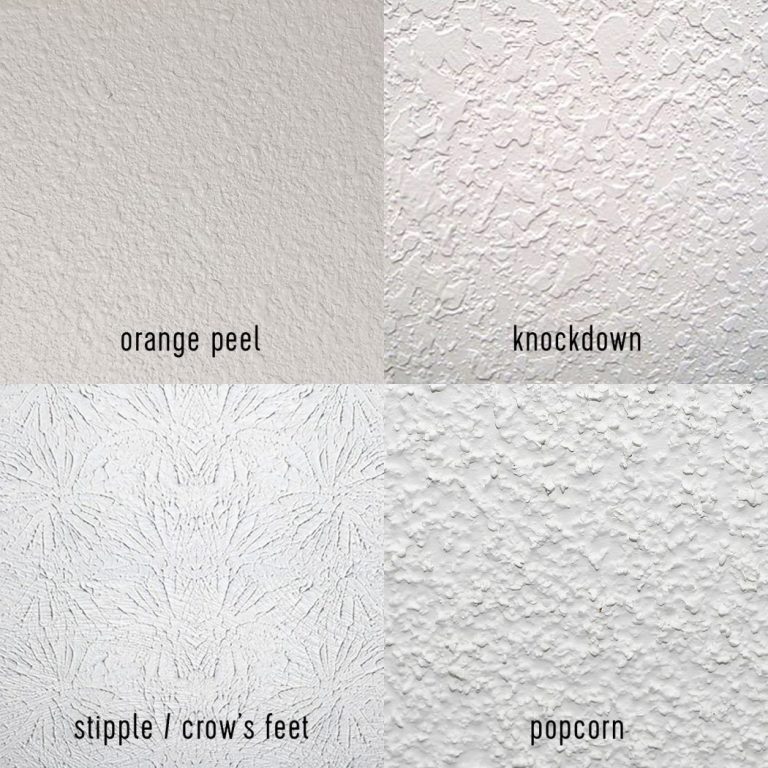
This really depends on the style of texture you are dealing with. A very heavy popcorn texture will be very difficult to cover with a skim coat. Lighter textures such as a knock down or orange peel texture can usually just be covered with a skim coat. If you are unsure you can always try a small spot that won’t be seen and see what happens. Closets are good for this, the drywall will usually be finished worse than the rest of your home, allowing you to test the worst conditions.


graliontorile
You are my breathing in, I possess few web logs and occasionally run out from to brand.
Mark
Thanks for your blog, nice to read. Do not stop.
Willie Shalla
In my opinion the puffco plus is the best product I’ve tried